
BASIC SEAM
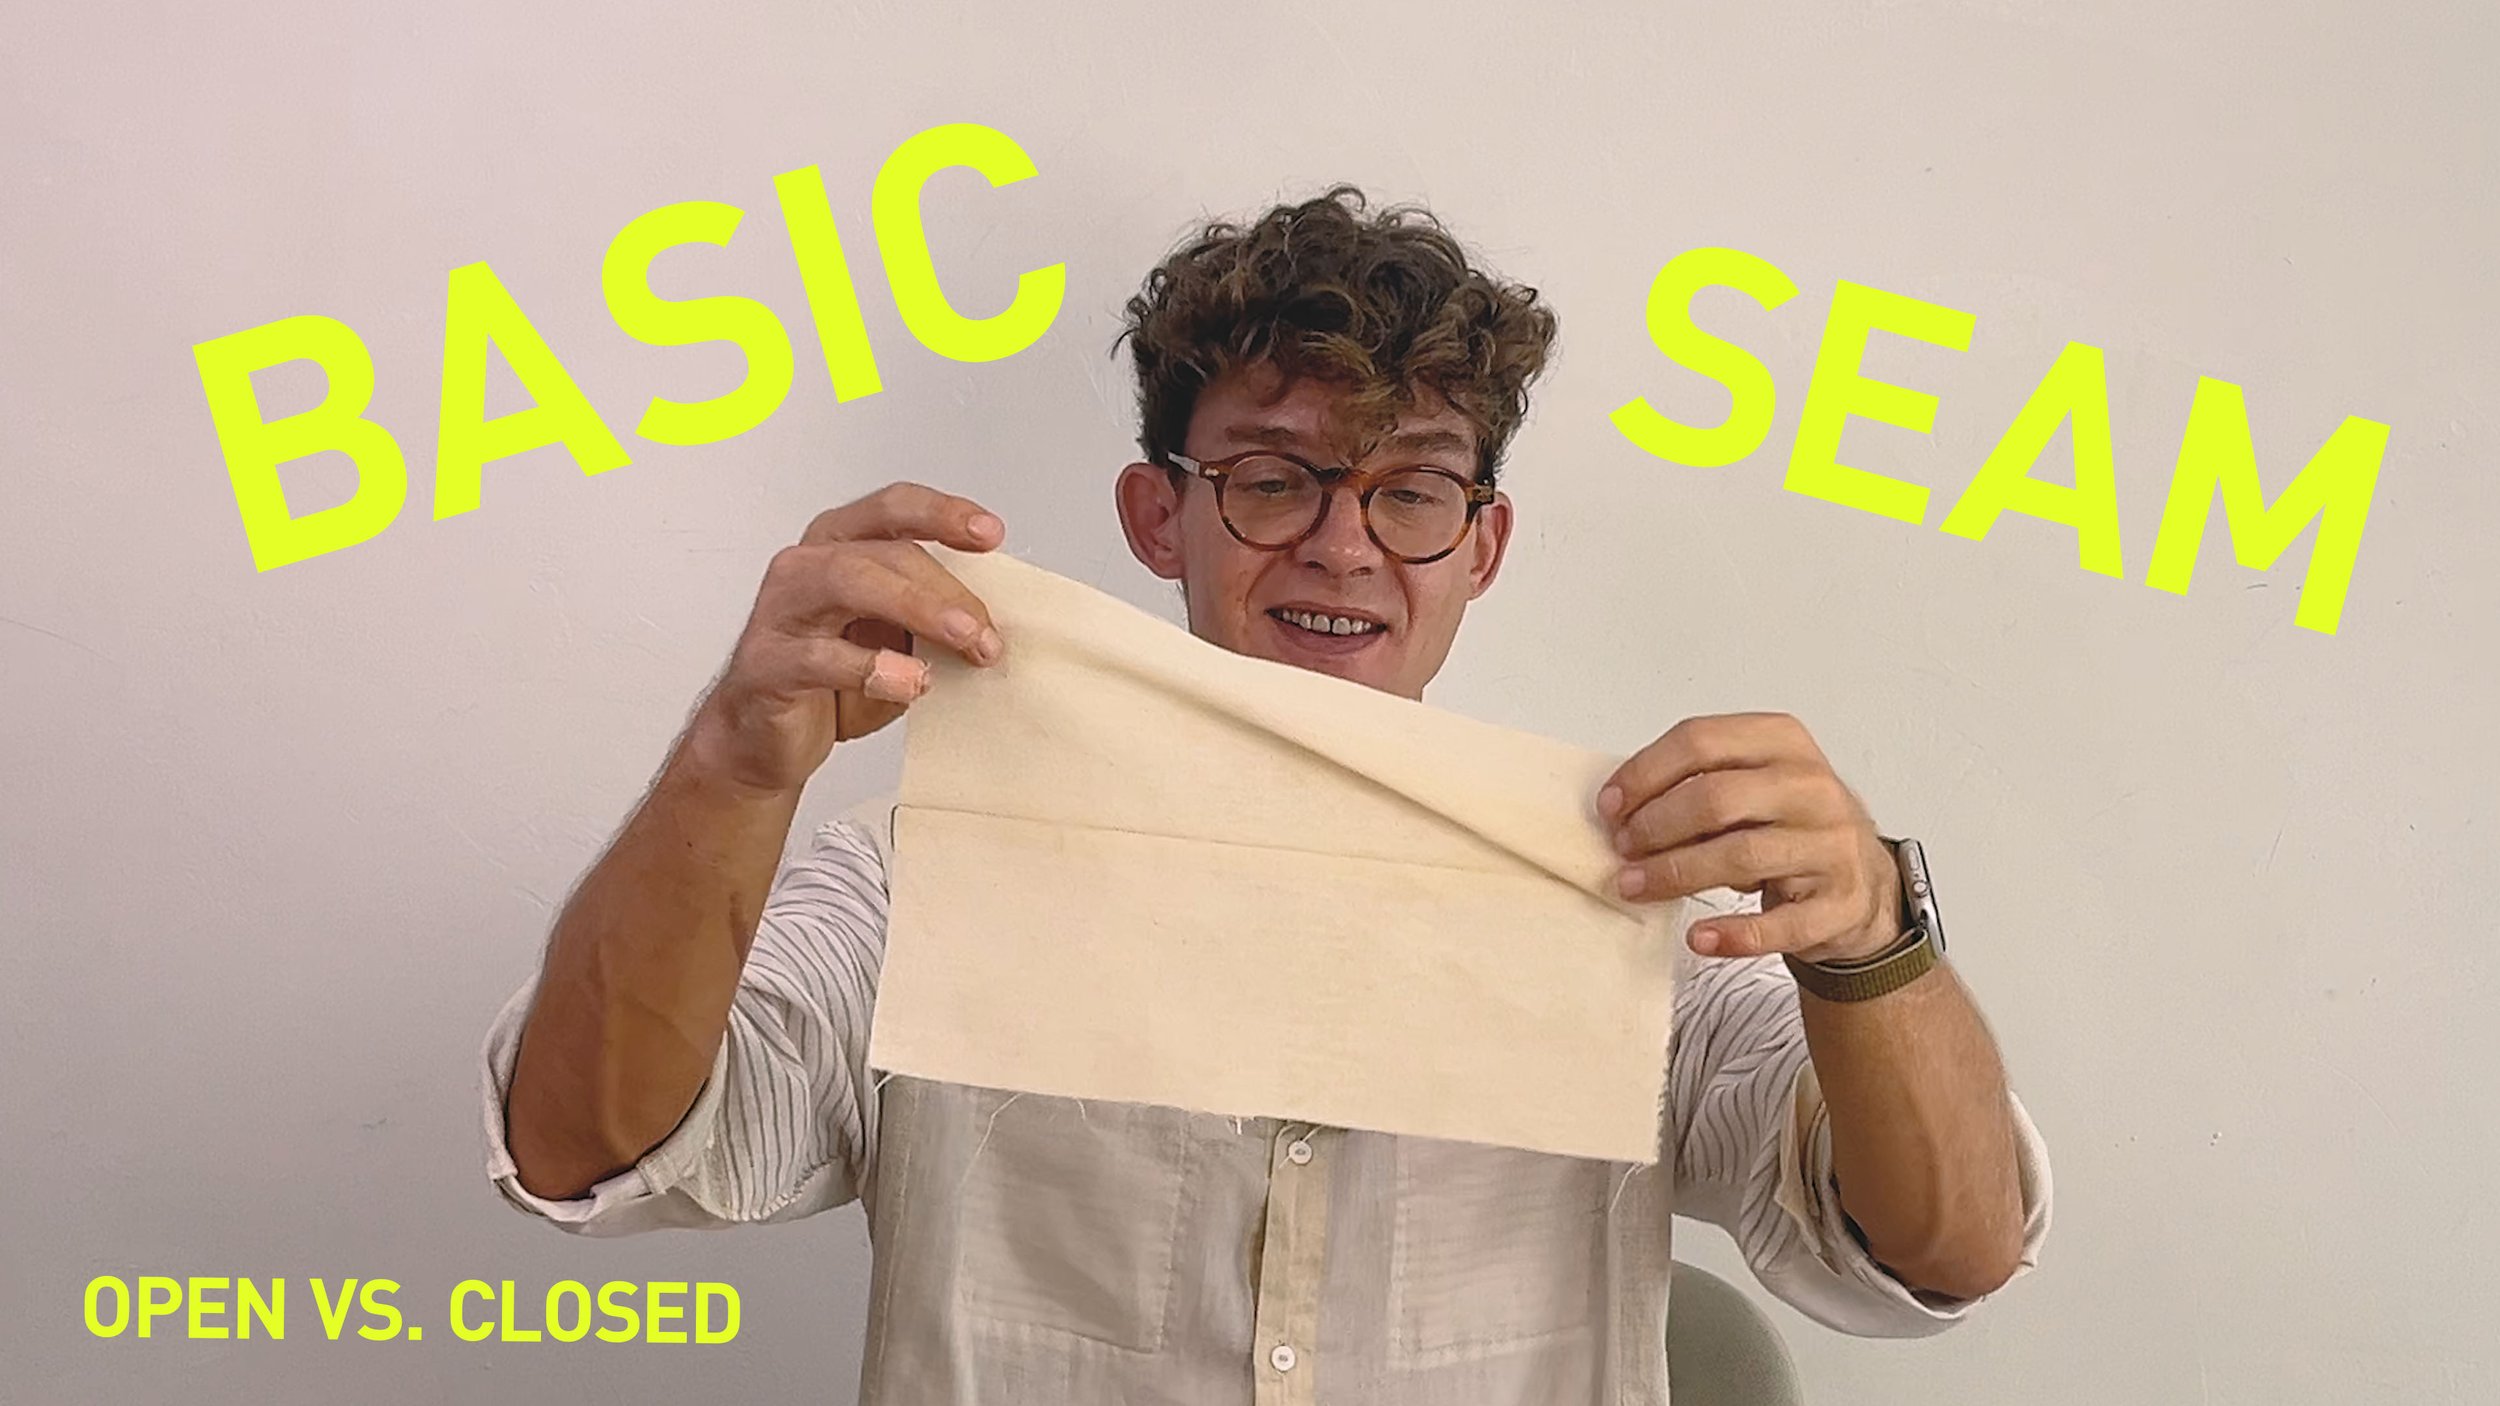
A basic seam is the most common method of joining two pieces of fabric together.
It forms the foundation of countless sewing projects and is often the first seam a beginner learns to sew.
The process is simple: two fabric pieces are placed right sides together and stitched along the seam allowance. Once sewn, the fabric can be opened to reveal a clean join.
Although the construction is straightforward, understanding how a seam is pressed and finished is just as important as the stitching itself.
How to Sew a Basic Seam
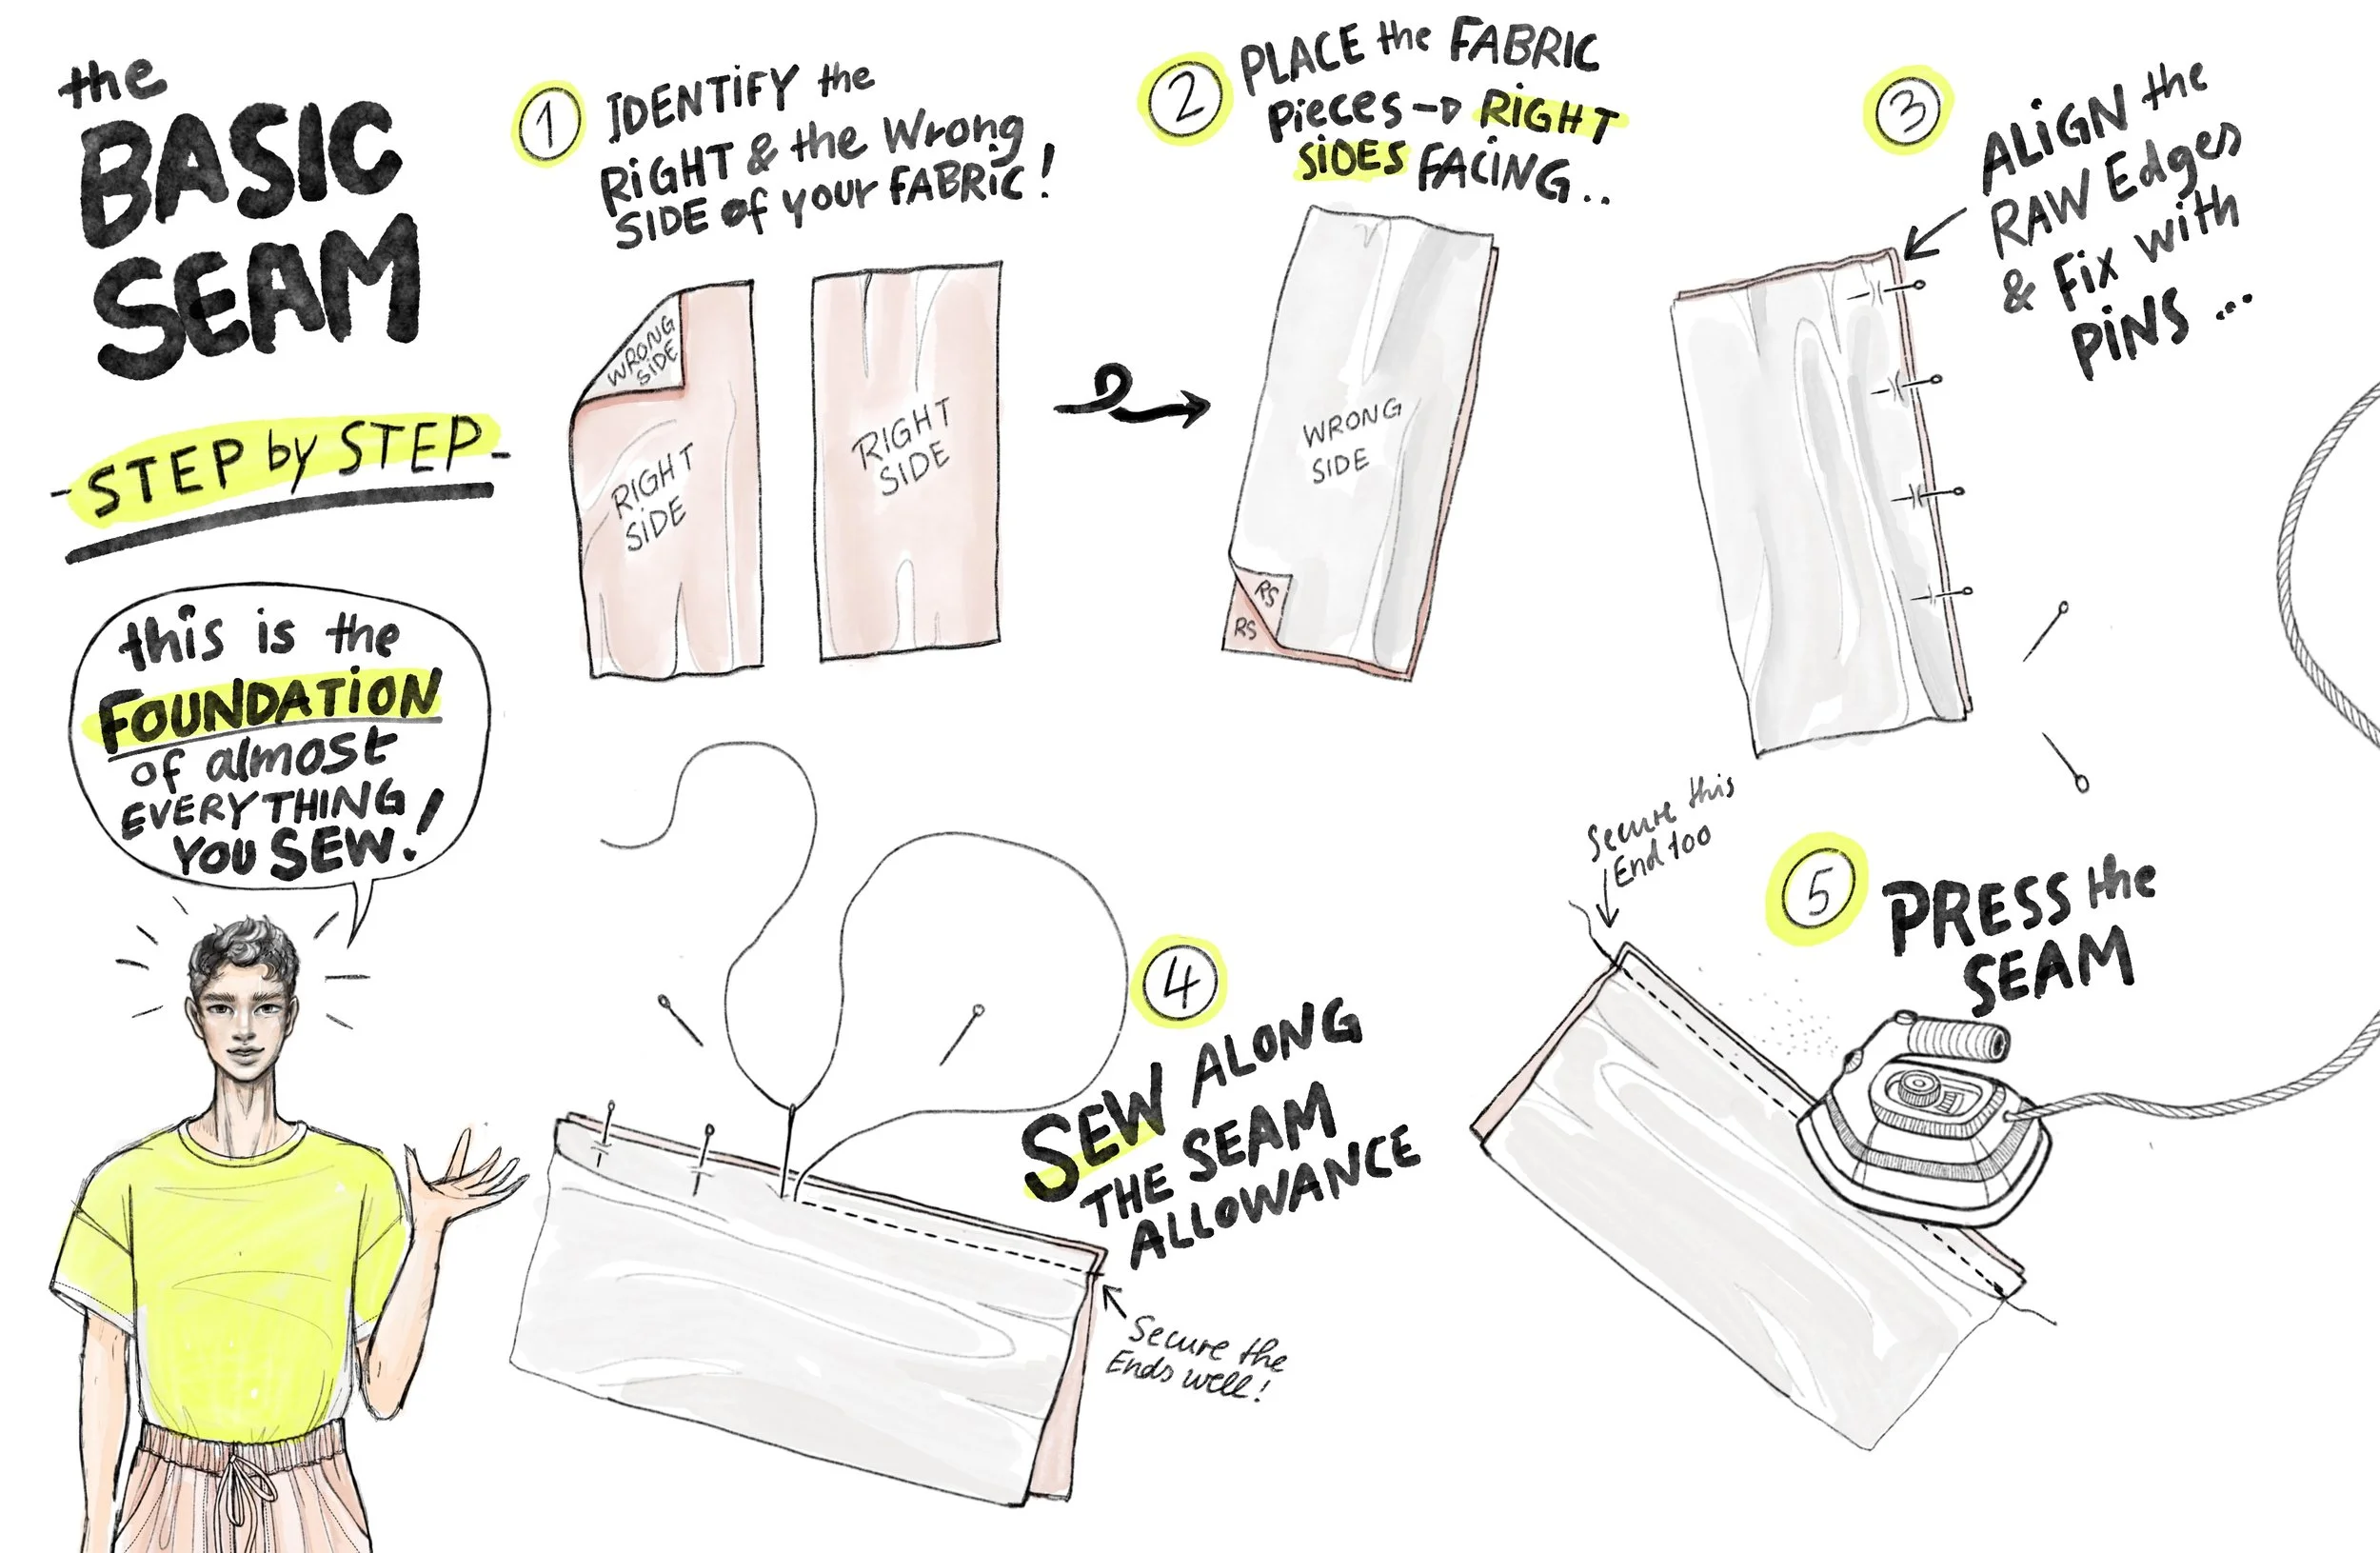
1. Identify the right and wrong sides of your fabric
2. Place the fabric pieces right sides together
3. Align the raw edges, pin or baste if necessary.
4. Sew along the seam allowance.
5. Press the seam
At this stage, the seam has successfully joined the two fabric pieces together
- now you have to decide whether it’s going to be an open seam or a closed one.
Open Seams
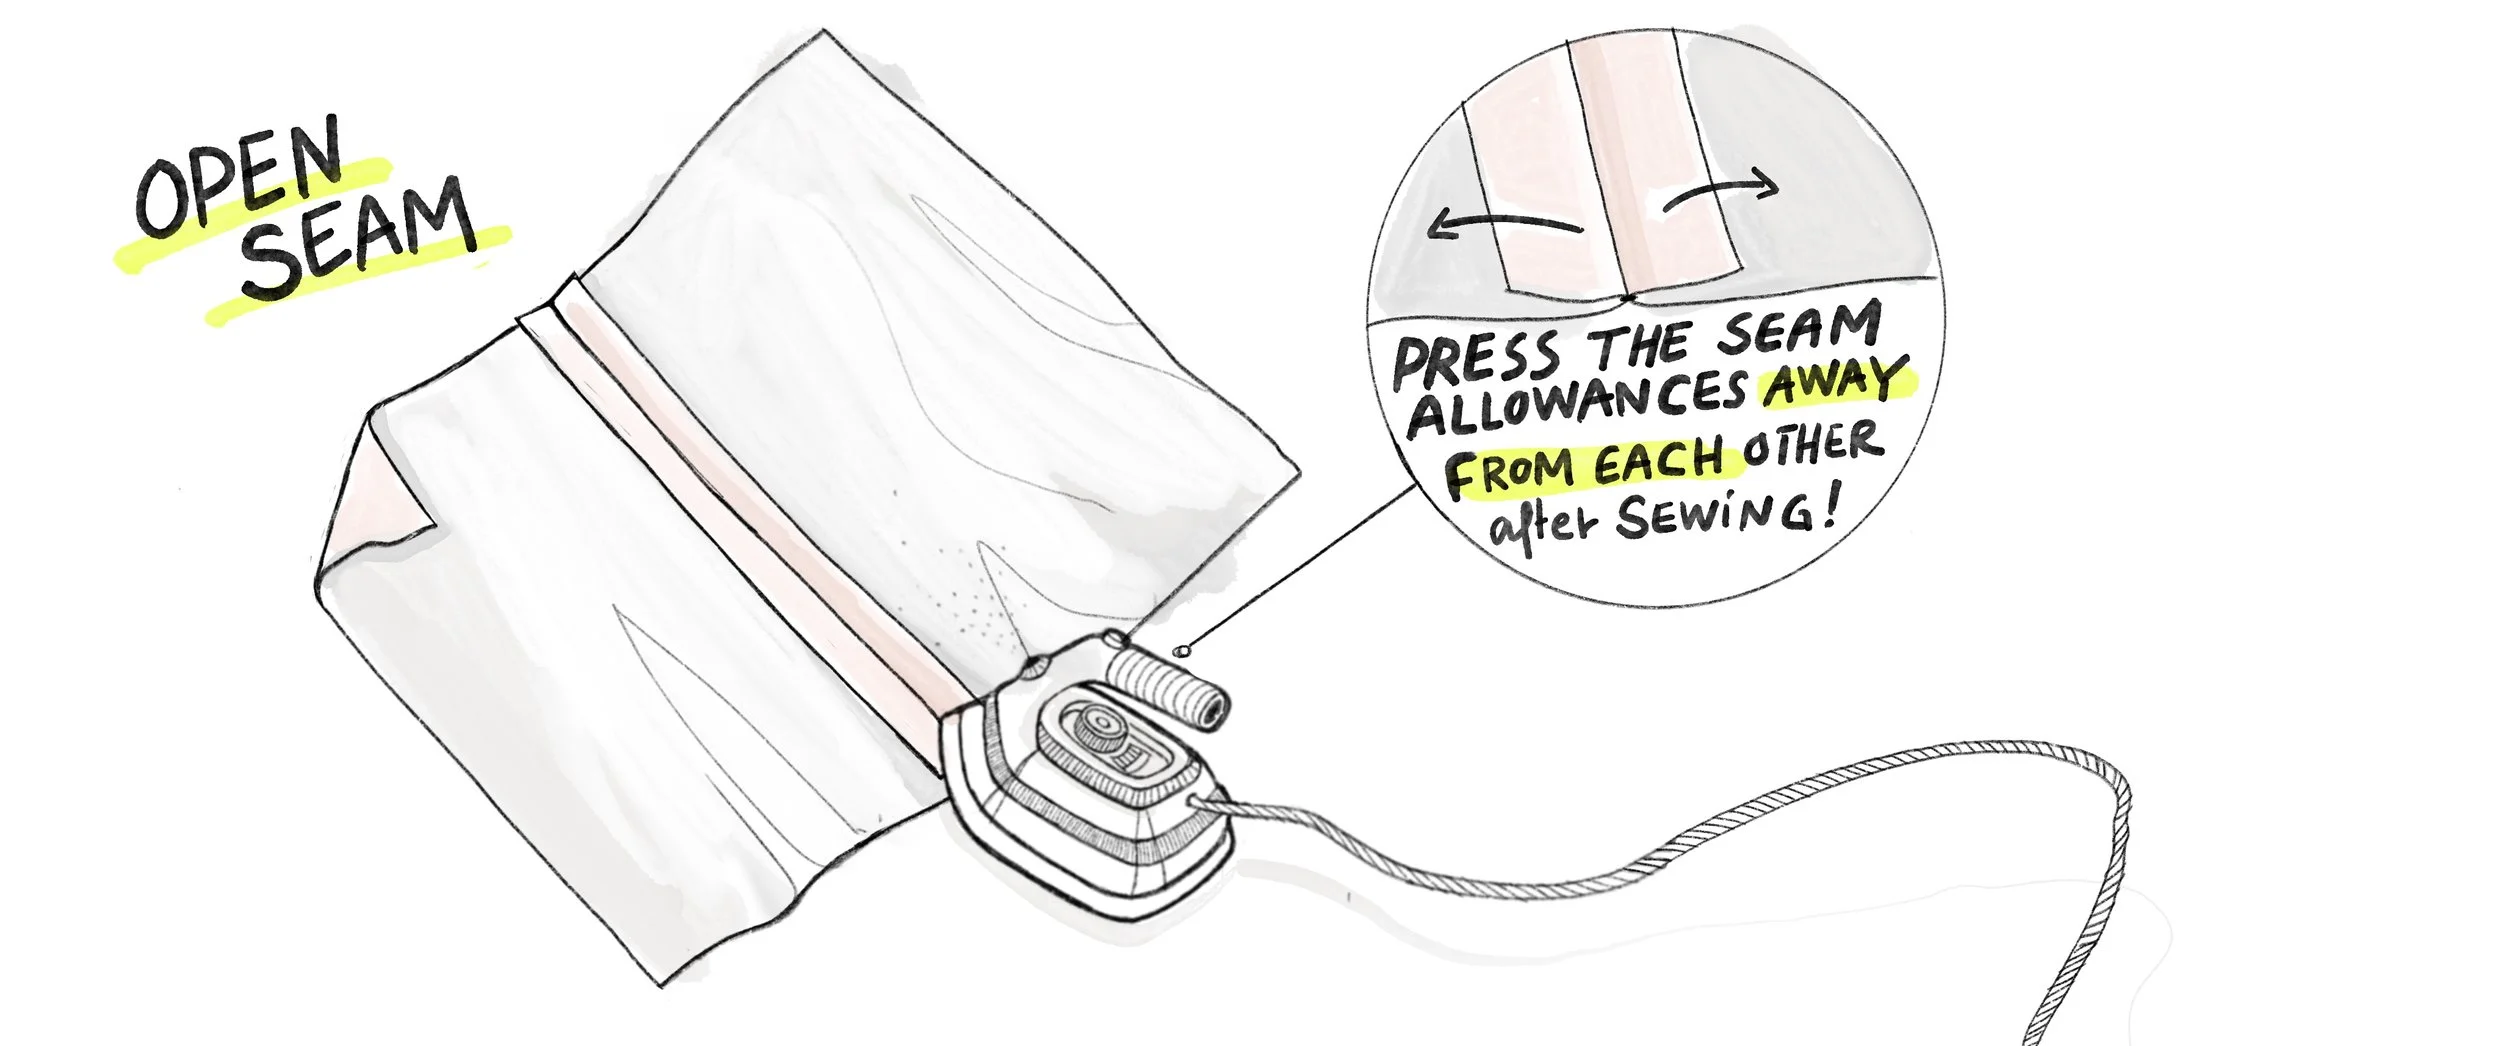
An open seam is created by pressing the seam allowances away from each other after sewing.
This is one of the most common seam treatments used in garment sewing.
Open seams:
• Distribute bulk evenly
• Create a flatter finish
• Allow fabric to drape naturally
• Work well with lightweight and medium-weight fabrics
• Are commonly used in dressmaking and tailoring
Because the seam allowances are spread apart, open seams tend to feel flexible and unobtrusive inside the garment.
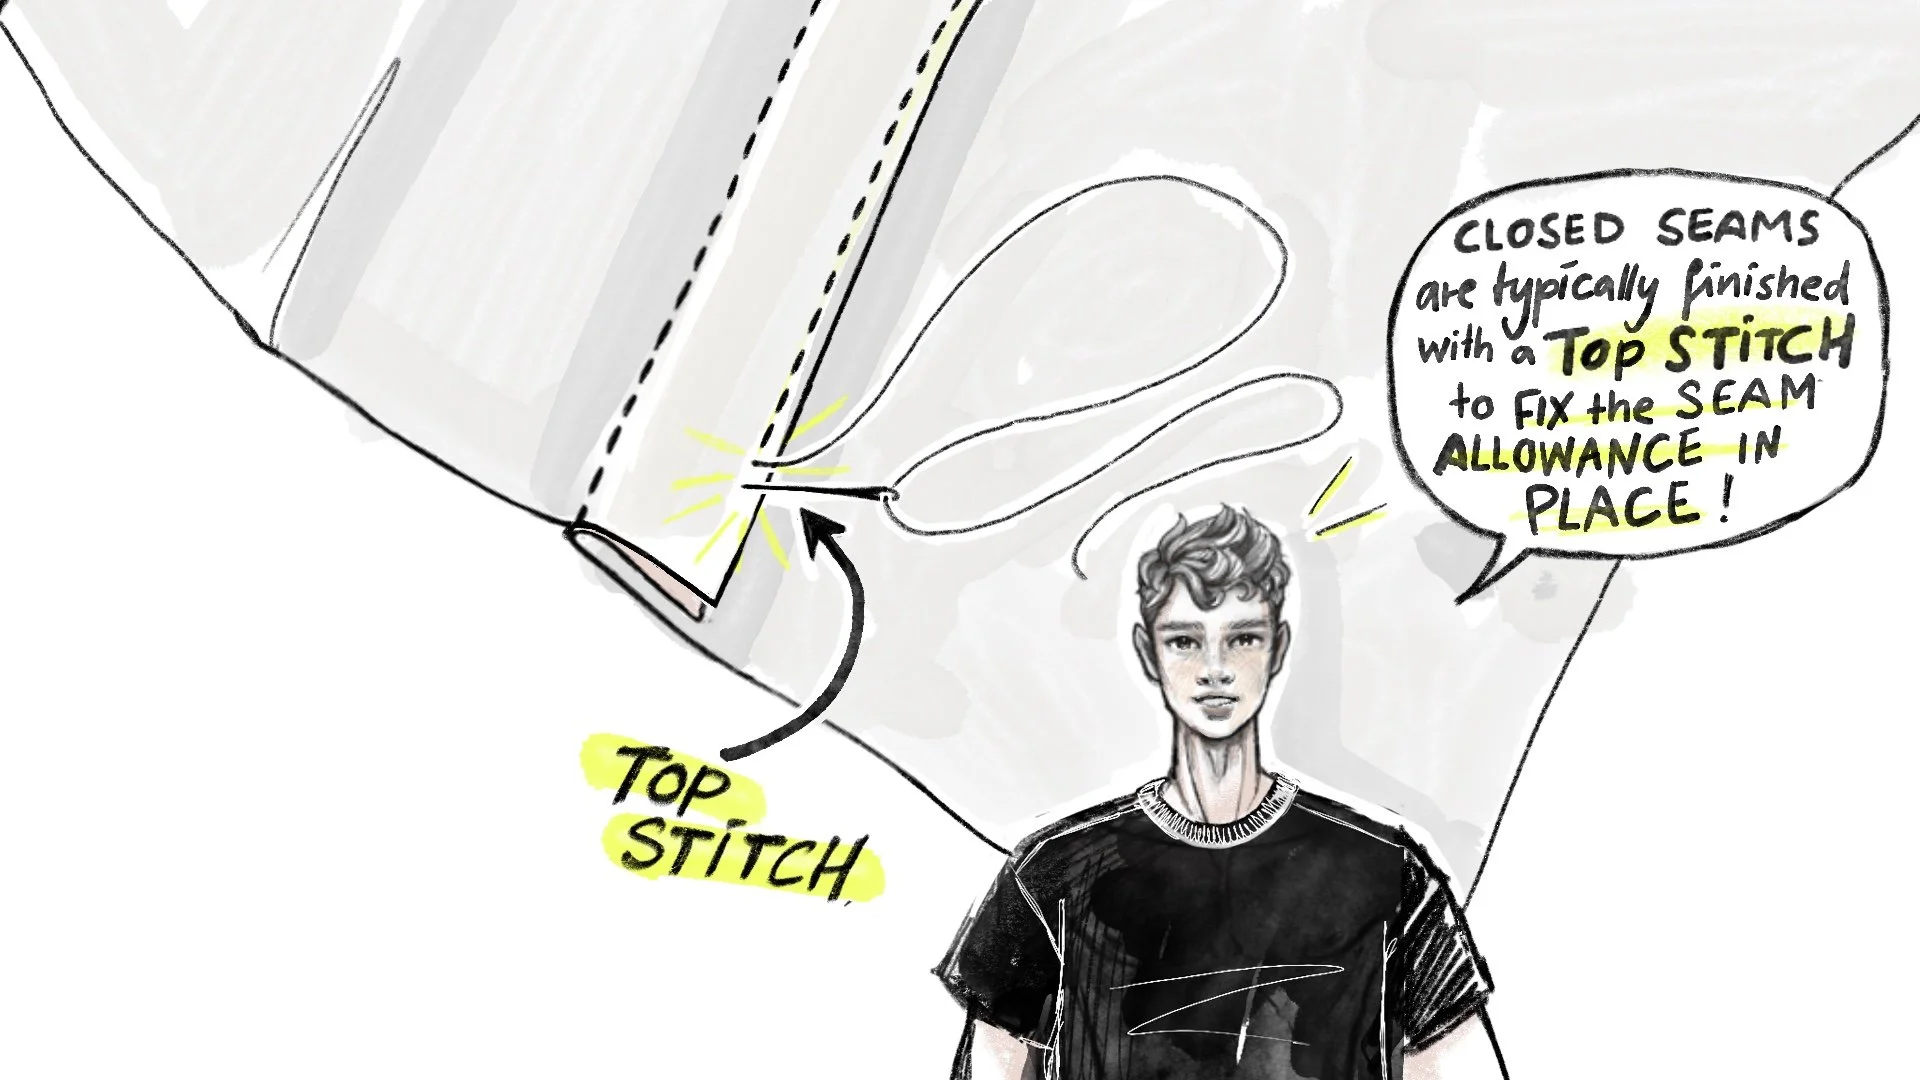
Closed Seams
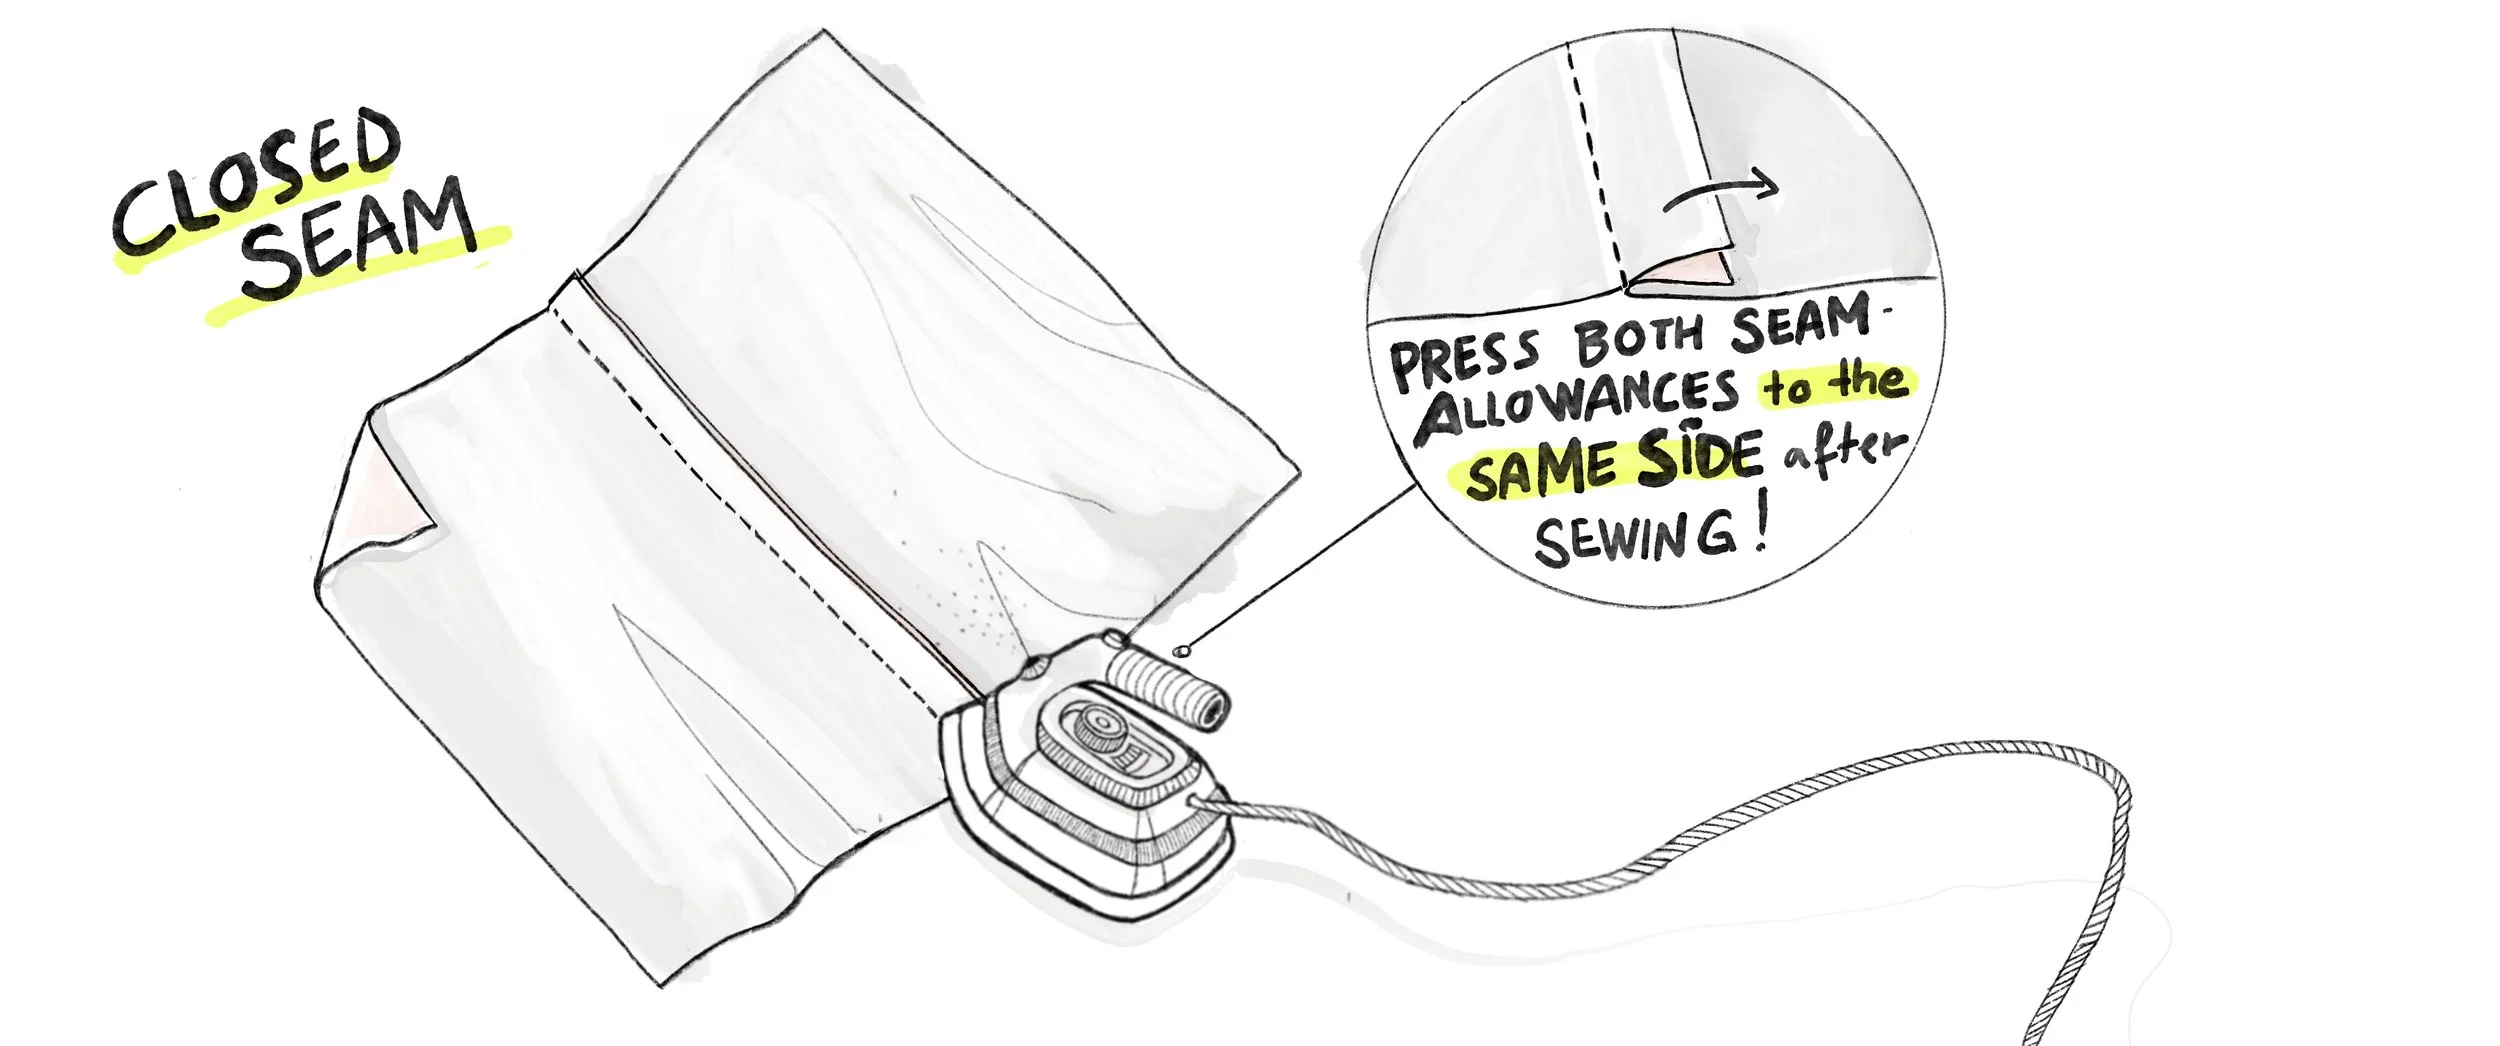
A closed seam is created by pressing both seam allowances to the same side after sewing.
This method concentrates the seam allowance on one side of the seam and is commonly used when additional strength or structure is required. The closed seam is typically finished with a topstitch that fixes the seam allowances in place.
Closed seams:
• Provide additional durability
• Create a stronger seam structure
• Work well with topstitching
• Are often used in workwear, sportswear, and bag making
• Can form the basis for flat-felled seams and other seam finishes
Because all seam allowances are directed to one side, closed seams can create a slightly more pronounced ridge while providing greater stability.
Open vs. Closed Seams
Neither method is inherently better. The choice depends on the fabric, garment, and desired finish.
Open seams generally create a flatter and more flexible result, while closed seams offer additional strength and structure.
Many sewing projects use a combination of both methods depending on the area being constructed.
Watch the short Video below for a deeper dive into the topic
let’s make a basic seam step by step
A Note About Pressing
A seam often looks cleaner, flatter, and more professional after it has been pressed. Pressing helps shape the fabric, reduce bulk, and improve the overall appearance of a garment.
Many beginners focus primarily on sewing, but pressing is an equally important part of achieving a polished result.
A Note About Seam Finishes
A basic seam simply joins two pieces of fabric together. Unless the fabric does not fray, the raw edges usually require additional finishing.
Common seam finishes include:
• Serging (Overlocking)
• Zigzag Stitching
• Flat-Felled Seams
• Bound Seams
These finishing methods help prevent fraying and improve the durability of the garment.